Dragon Fly visits ….

I love ponds and Dragon flys are one of the unusual bugs that always seem to be hanging around. Sometimes their green but the blue ones are rather beautiful. 

Isn’t it funny the way they hang out on the very tip of anything situated high over the water.

I worked on the drawing of the young boy this morning while waiting for a client at the Art league .   I’ll take a photo of it tomorrow ( in day light) so you can see the way I changed a few things.   I may start to paint on Sunday it won’t take that long to paint so I don’t want to rush the drawing till I have a better feel for the little guy’s features.  

Drawing  from life this morning (with Michelle my model), it really brings it home how much easier it is to draw from a “real figure”.  It seems that you connect with the person  and this connection somehow helps you project the image onto the paper with less effort.

close up of face WIP

This photo isn’t as sharp as I would like but all this up loading takes time so it will have todo.  Here you can see my pencil lines. 

 I darkened the neck, it helps to shape the face .  I took out one of the ears as it was distracting and not needed.   The other ear needs to be refined and one of the eyes needs work ( the fold is off) These things will wait for another day.  I usually limit myself to two hours on each of these as they run the risk of being over worked.  Your mind works at a high level of concentration as an artist and will need a rest.  You will always see things a little better after puttng the piece away and coming back to it.  If you still want to continue to work on something, pull another painting  out and work on it. This way you will start  fresh and this piece will not become stiff.

day 3 tighten up the drawing

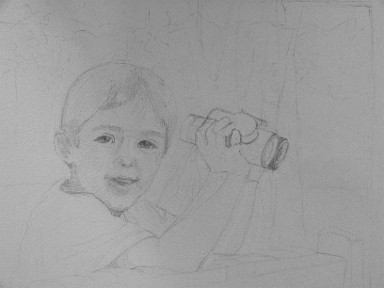
Now … here we are, after you have spent some time away from the painting look at the piece and everything that is inaccurate should be obvious, write notes to yourself, you’ll forget to change something that you’ve spotted if you rush in.  If your having problem seeing the  drawing ( a line drawing is very difficult for anyone to decipher) turn the drawing upside down and some things will become more obvious.  Remember the line drawing is just a basic start, now you will bring the drawing together with tone or what artists call “value”

  The first thing to change will be the doted lines once you decide if the shadows are correct you will put them in…  There will be value that will be difficult to see, this is usually a mid value.   If your unsure what the term “mid value” means…  its simple, If the binoculars are the darkest item in the photo it would represent a 10 on the value scale, the face will never be more than a five on any child’s face,  ( black skin is the only exception and you’ll have to keep checking back with me to see how to paint people of color) and a mid value will be about a 2.5 to 3…so when deciding your values keep this in mind.   Everyone sees white and black its the values in the middle that will confuse you.  As an artist, you’ll have to translate these to color and I’ll explain that when we get there.    To check your values you can use cross hatching or even just smudges to place the shadows,  Do not rub in the graphite as it will embed itself in the paper and give a dirty appearance to the finished product.    I draw right on the paper I paint on but you may wish to draw on a translucent piece of vellum or even plain Bristol and transfer the image.  This is especially good if you erase a lot.  Also this image can be used again if needed as you will always have this drawing. The one on the painted surface is covered up.

If you are going to transfer the image to your board, canvas or paper use Seral transfer paper, its the best.  It comes in all types of colors ( even white)  but I buy gray.  Its expensive but lasts forever because its reusable and if you belong to an art club you can split the expense with another artist. 

Also you may wish to buy some pencils with very thin lead.  ( drafting pencils are good or just a pencil with a hard lead) I’ve noticed many artists don’t realize the line of their lead is thick and this minute amount of space  between  the inside of the line and the outside of the line is all that may be needed to adjust an eye that is too far apart or a nostril that looks too wide.   If your drawing with a hard pencil, be aware not to press into the paper too much… in fact, hold you pencil very lightly.  Do not hold the pencil as you would for writing but more in a sketching manner.  You will be able to give the line more character and not press so hard.   For this demonstration, I have adjusted the drawing so it will show on the screen but it is actually much lighter than this on the paper.  I put this drawing in a photo software program, darken it and also changed it to black and white .  Graphite is more gray than black so the camera doesn’t pick it up well.  Do this for most drawings you wish to put on line.

Ok lets talk about photographs 

Photographs are not accurate…  they are flattened so the foreshortening will be off and the values are made in bigger jumps than our eye will actually see……… 

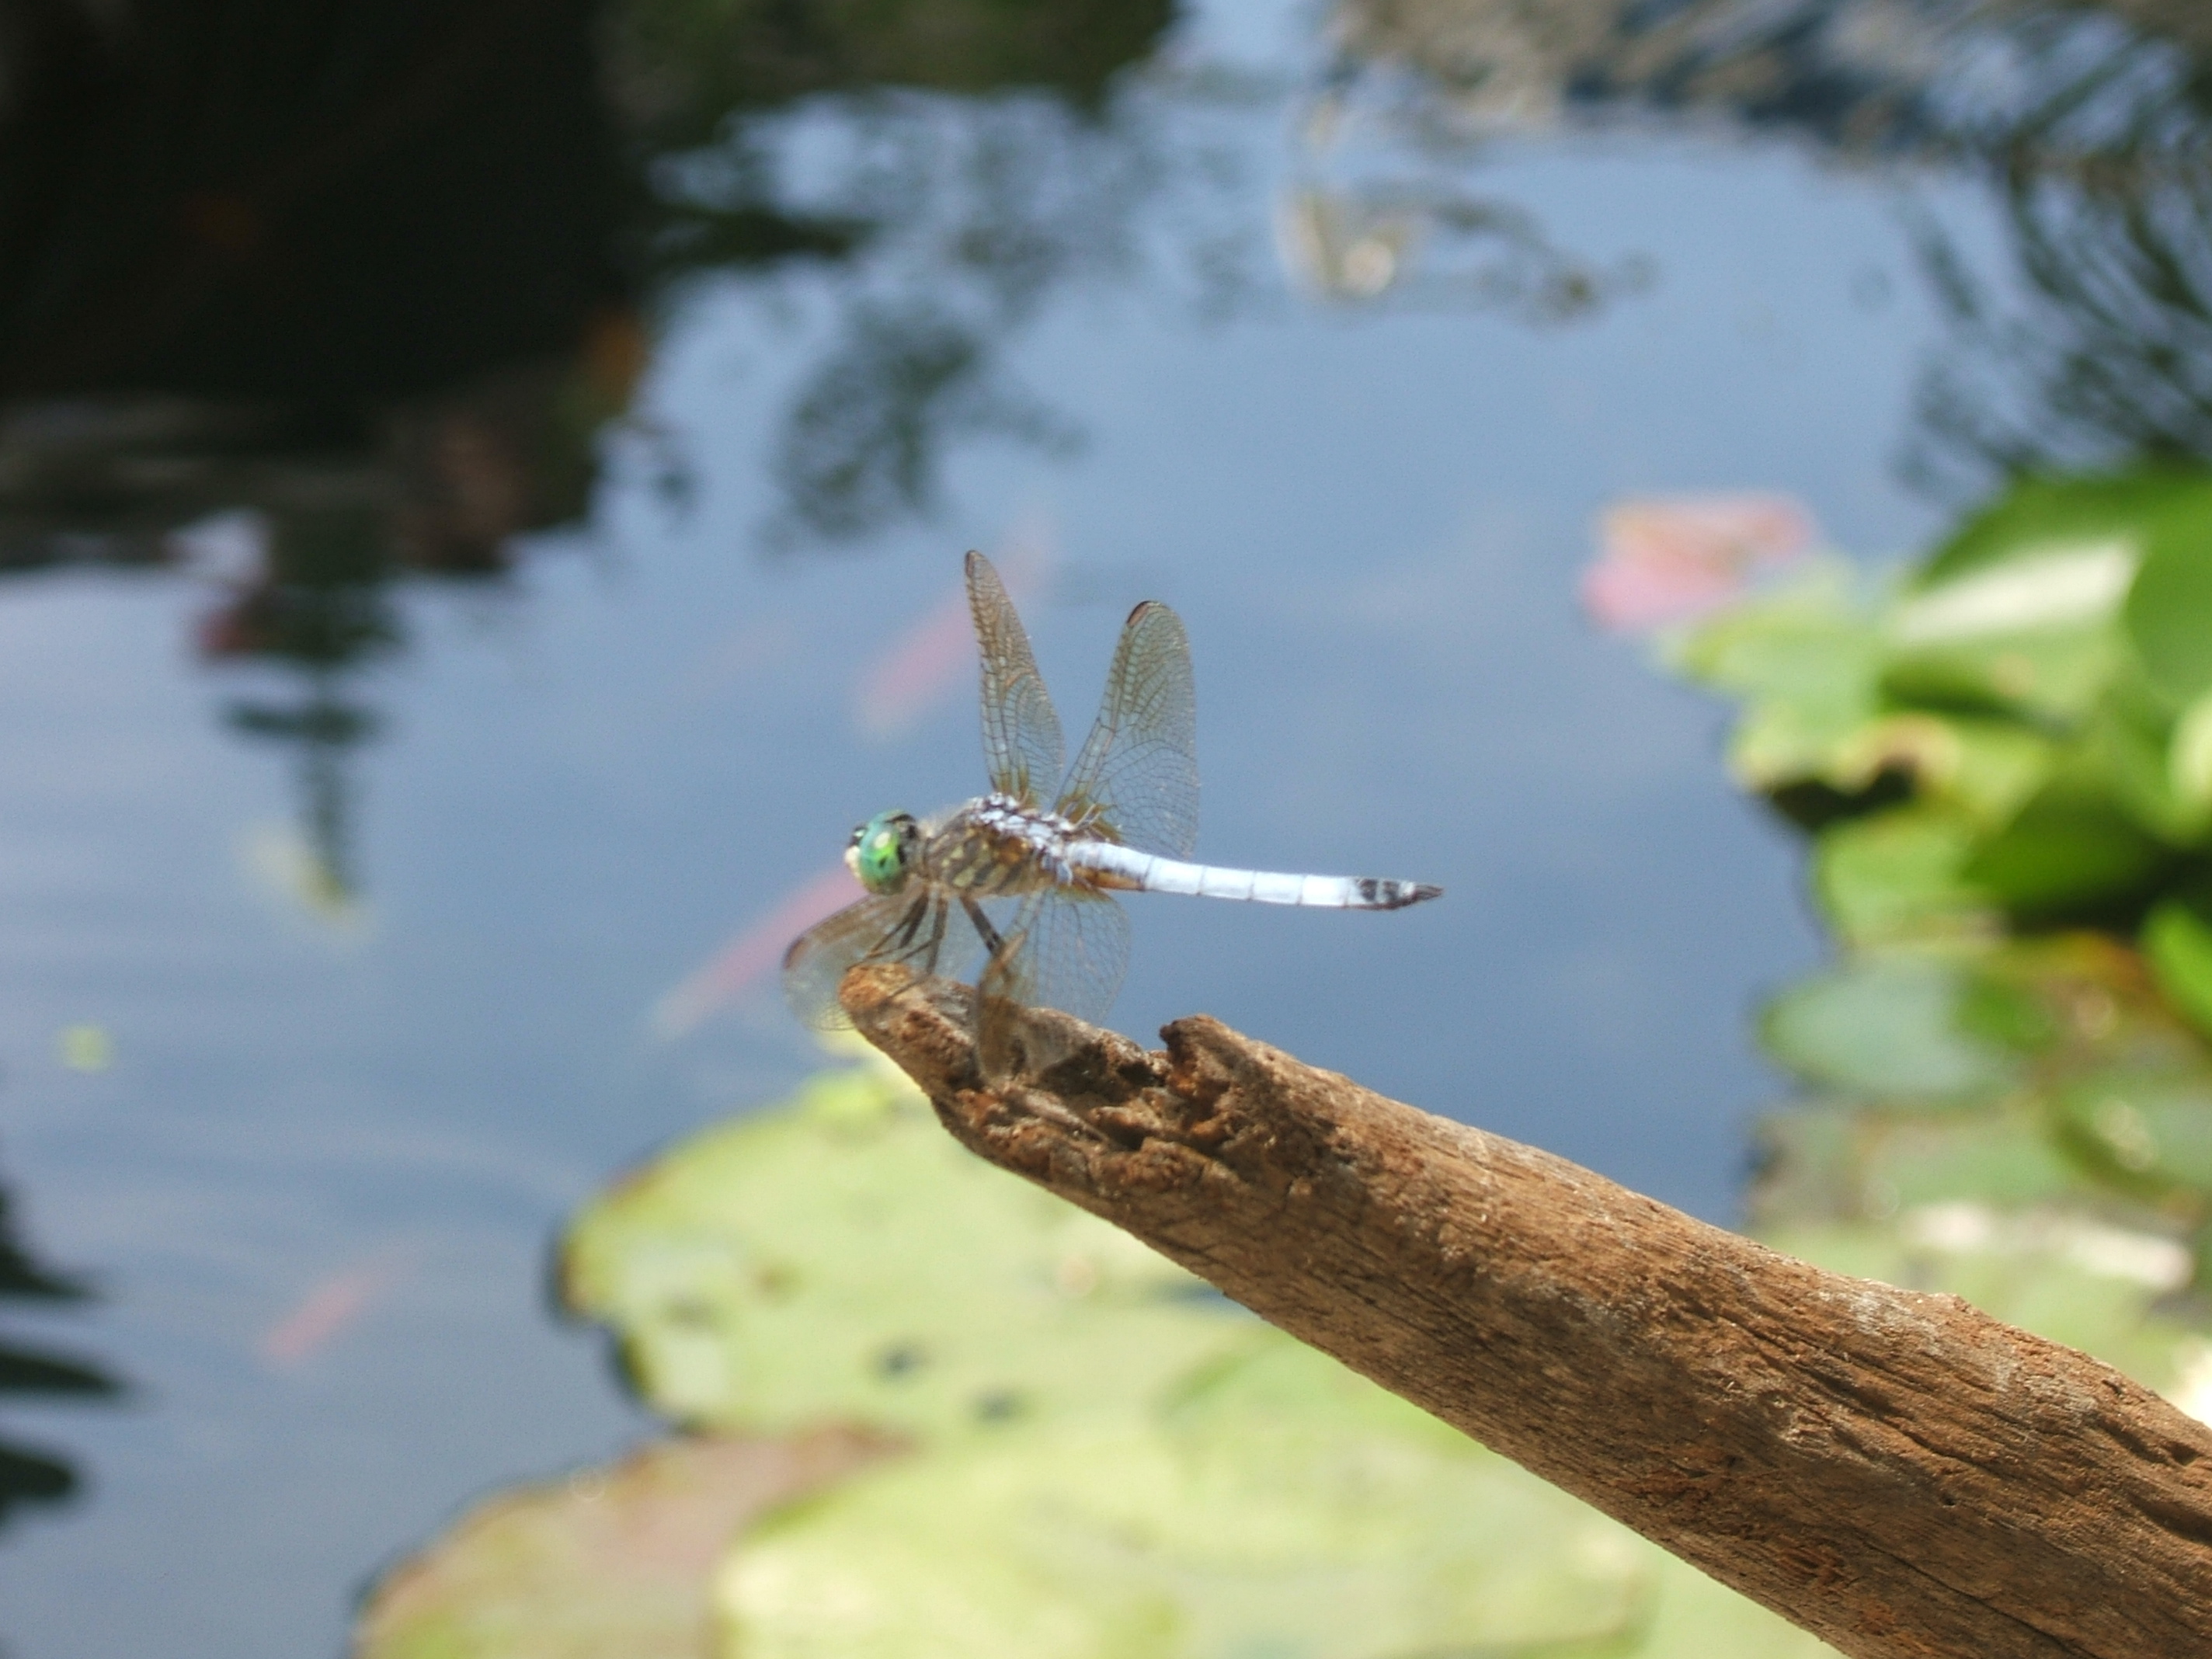
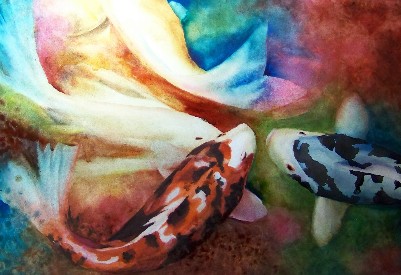
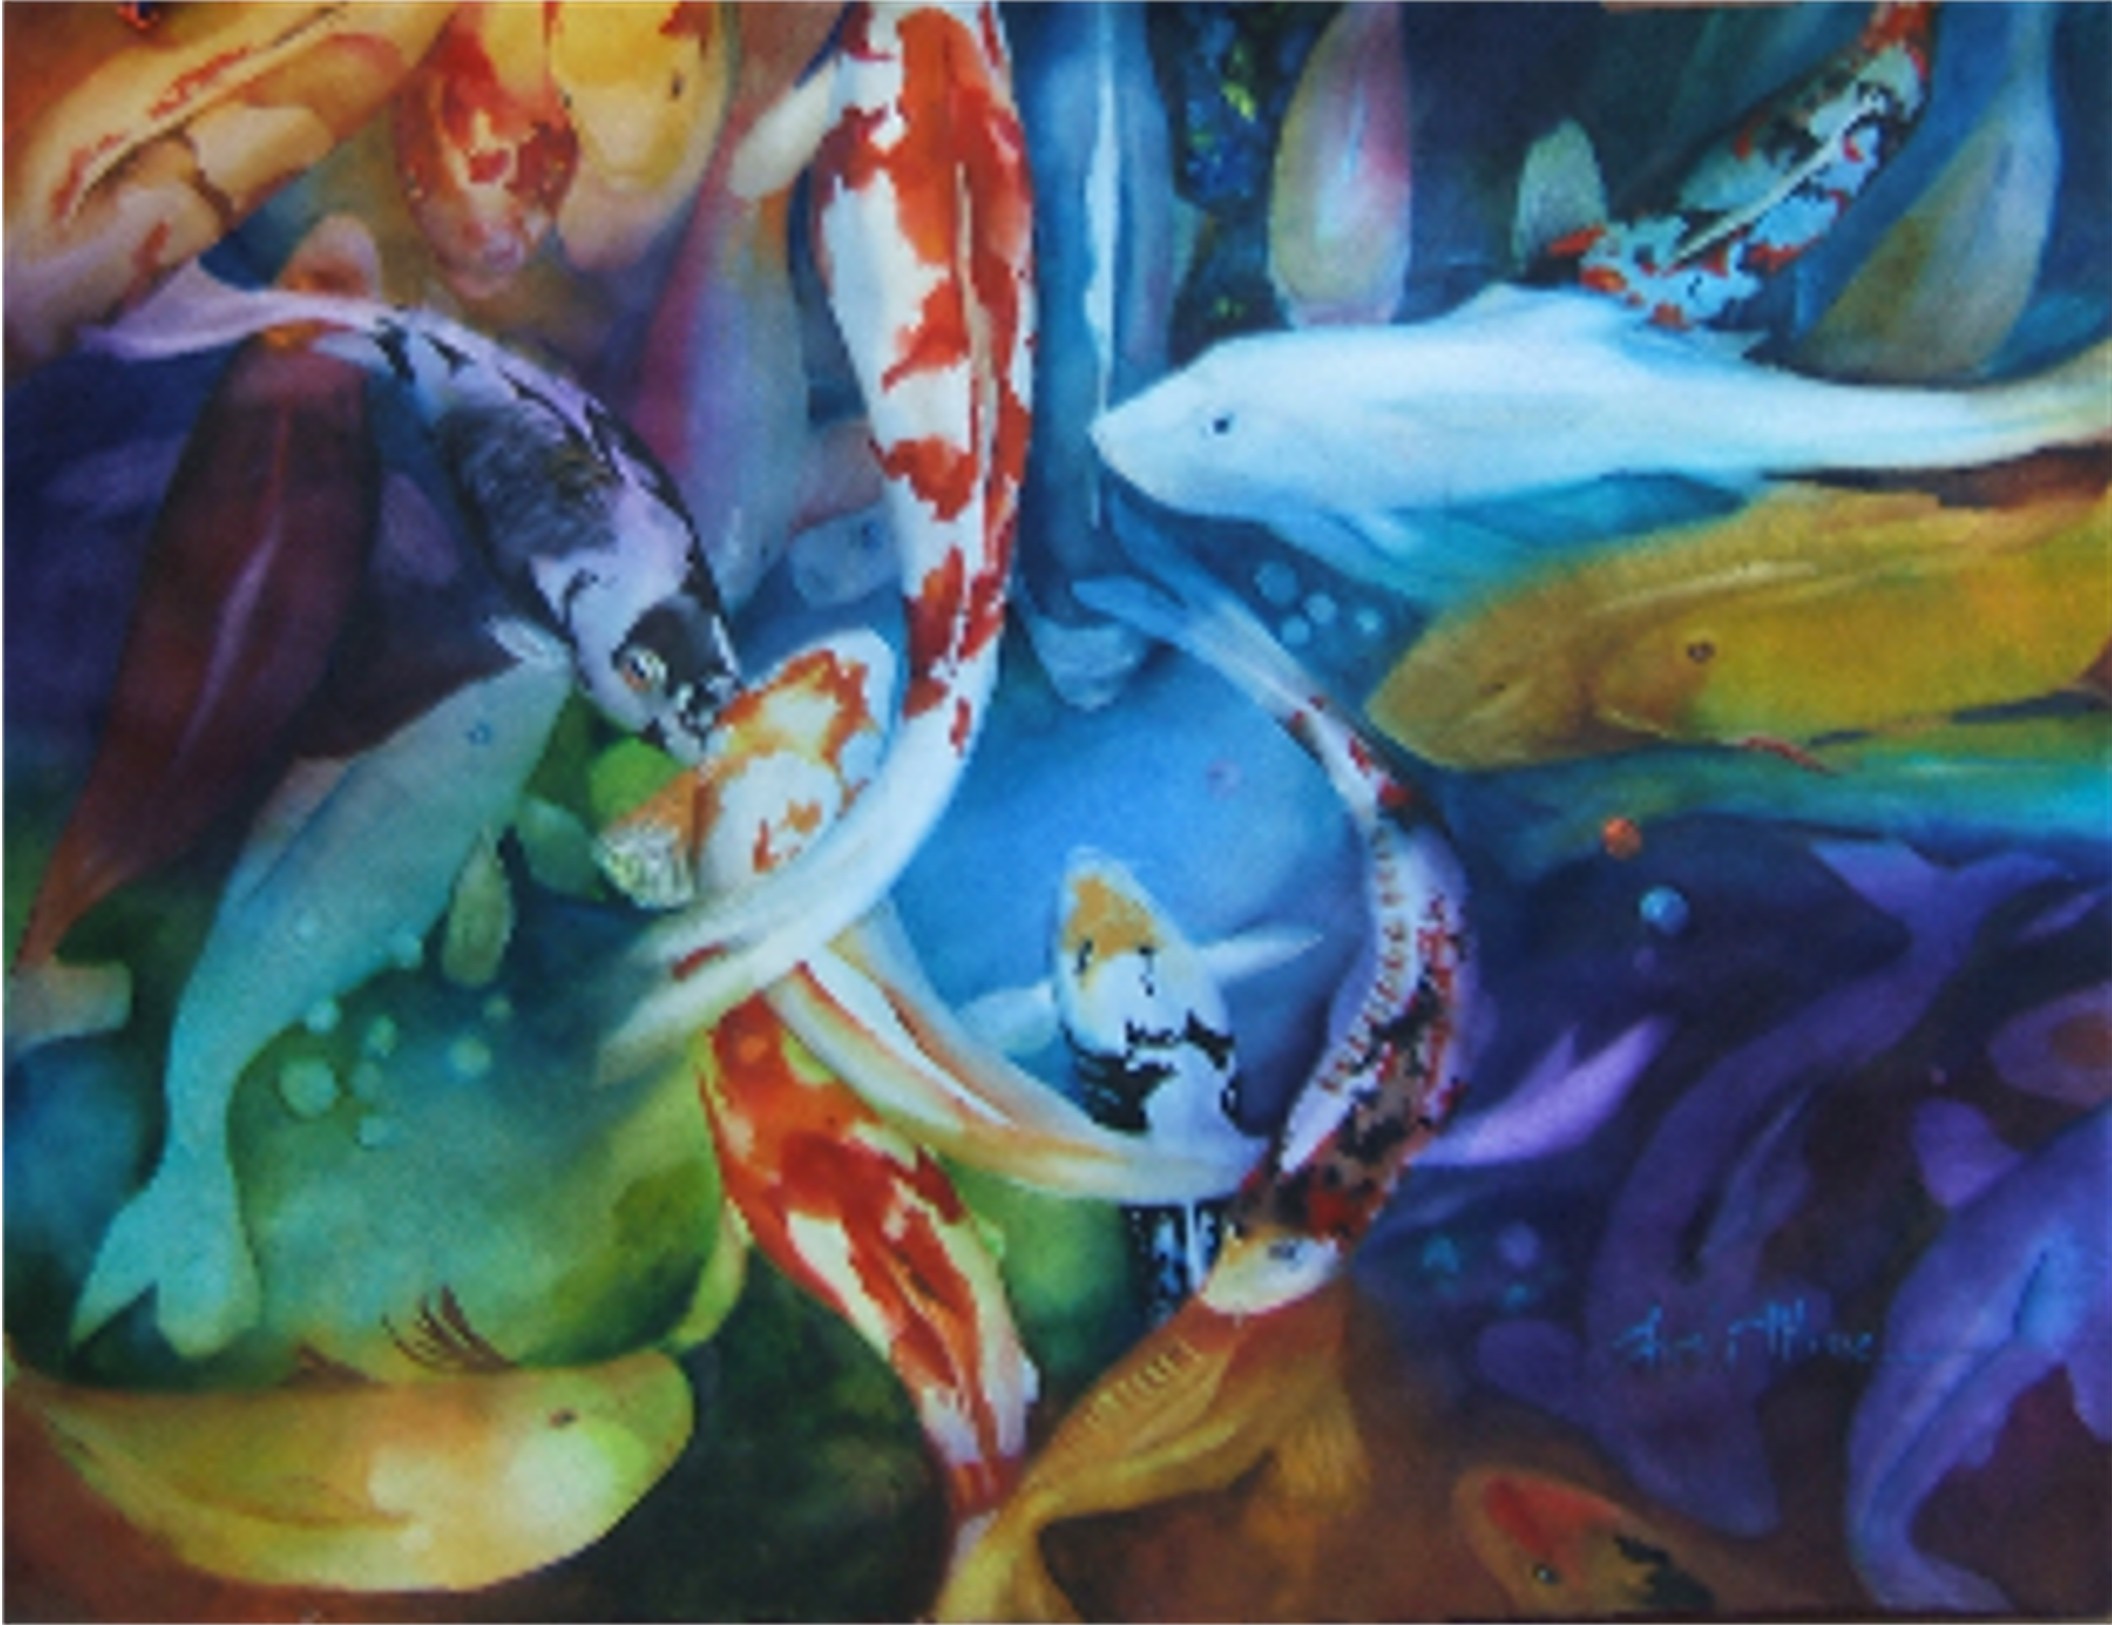
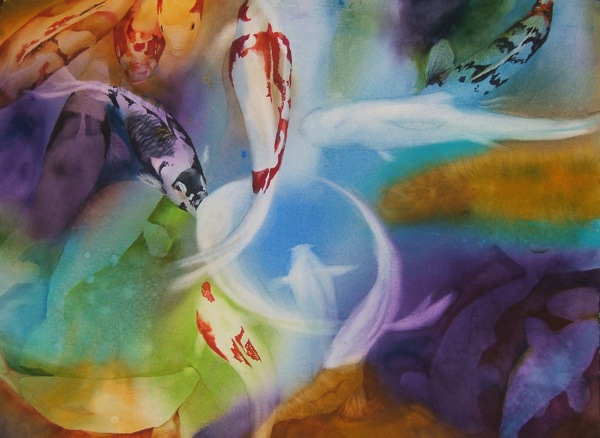
1.  You should  meet the child/dog,  or in my case Koi and(when possible )take the photo yourself.  A lot of what we know about a person isn’t visual, so there is more information you can distill if you have a chance to see the child. The personailty  and mannerism are missing from a photo but if you see the child you will have an emotional three dimensional aspect that you  can’t substitute.   Also sometimes a child will smile crooked but this isn’t their “look”  you won’t know this if you only have one pphoto.  If you are working from multiple photos make sure they are photos of the child at the same age and preferable all out doors and in the same season.  Light is different in summer than winter and this may throw you off also if its over cast in one picture and bright sun in another you will see things differently.

 2. use outdoor light

3. take color photos but change them over to black and white in a photo software program so you will have accurate values and if you want you can grid the drawing for accuracy.

Also measuring is a good way to check the distance between things,,, like the ears and the brow or the tip of the nose to the bottom of the chin.  Remember when drawing, you will be drawing the outer most line then back filling with value to create the turn …so something may look too long or too wide before you put in the value.  Do not change anything until your values are in place.   Also in a photo  the actual placement of say the hairs of the eyebrow will be difficult to see, in this case  use standardized art measurements.  If you don’t know what these are, write me I’ll give them to you.

Almost finished, Koi Joy

12 by 17 watercolor on paper

I worked on this painting a bit today.   Pushing the values darker and creating passages so that the upper left side would be the light area and the lower right corner would be the darkest area.   All I have left to do  is a small amount of detail and also putting in a bit more form on the light colored fish.   It is a bit flat.

“Koi Passage” finished?

Koi passage9

As you can see its dark and very late but I worked on this painting and I wanted to post an up date. I knew I didn’t have much to do to get it finished but just getting around to finishing it seemed like a chore. I don’t want to just paint when I’m painting these paintings, I want everything to be right. So I put off starting to paint when I know folks are coming over or  if I know I’ll be pulled away.

But you know how it is…. if you wait till the time is perfect, you’ll never finish.

I’ll get a better photo tomorrow when the out door light is good. This is a bit washed out on the top because of my strong overhead painting light.

Koi Passage work in progress almost finished

Koi passage


Here it is with out it being angled back on the table easel.  I do paint this stage on an easel its actually easier because I on’t have to lean over a table. I paint standing which really helps me with my freedom of movement and I’m always stepping back to take a better look at it from a distance.  I also will hang it upside down and look at it for at least a day. This gives me a fresh perspective and helps define the big shapes for me.  iIalso use a piece of red acrylic to check the light passages the values. I have an earlier post showing how a painting looks thru a piece of red acrylic and how to utilize the tool to assist  an artist in determining the light and dark areas.

Koi Passage work in progress

koi
Here is another view of the work I’ve completed on this painting. Looks like just a few more tweaks and It will be completed, boy I’ve been busy usually I can finish a painting like this in a week or two but with summer and gardening and all my outside activities, I’ve had to force myself to get back to this work. Don’t get me wrong, once I get started, I can’t stop painting, Well I get pulled away but I would paint all night some nights if you let me.


I wanted you to see it on my table easel so you can see the relative size.

You can see its getting darker and I’m closing in on the focal area, refining the details as I go. The piece is very busy and colorful so I may put a blue glaze over some of it to push it back a bit.

This photo has a wider prospective and you can see the entire painting.  I darkened up the lower right hand side with reds and browns all transparent color. This helps bring out the purple and blue fish at the bottom right hand corner.

 I’m planing right now to make the black and white Koi on the upper left hand side of the painting the focal point.  This is why I painted him in such detail.  I’m probably going to paint in another white Koi next to the big red and white Koi in the center.  I’m going to point him going into the painting rather than going out of the painting.